
In this project you will create
a PowerPoint presentation
that will outline your class project
Click the Blank presentation box and then click the OK Button
You should have a window like the one on the right.
Click the Blank Page
If the window on the right does not appear use the procedure that follows to choose a blank slide layout .......
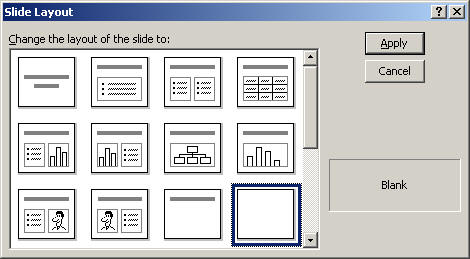
Open the Format Menu and click Slide Layout
You can then choose the blank slide icon
Find the Text Box Icon and click
![]()
Hold down the left mouse button and draw a Text Box on the slide
Change the size and color of the font the way you do in any Office Application
![]()
If it is not, open the View Menu, Click Toolbars, Click Drawing
Click the Line Icon from the Drawing Toolbar
![]()
Choose a line size and click OK to add a border to your text box
Click Format Text Box
Experiment with the colors, lines and shading of your Text Box
Click on a blank part of the screen to unselect your text box
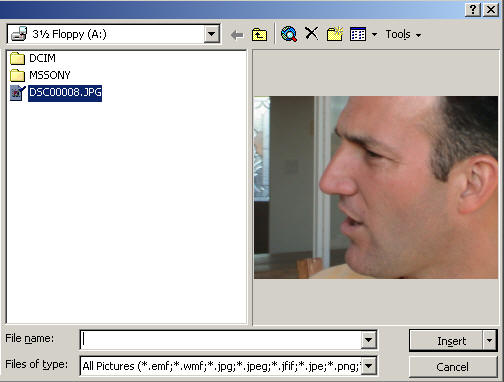
Insert the disk containing your picture in the A: Drive
Open the Insert Menu
Click Picture
Click From File
Make sure you are searching in the A: Drive
Click the name of your picture
Click Insert
If you need to re-size your picture ....
Click the picture
Notice the buttons on the edge of the picture
You may click on one of the corner buttons, hold down the button and re-size your picture

![]()
With the Picture toolbar you can change the brightness, contrast or other aspects of your picture
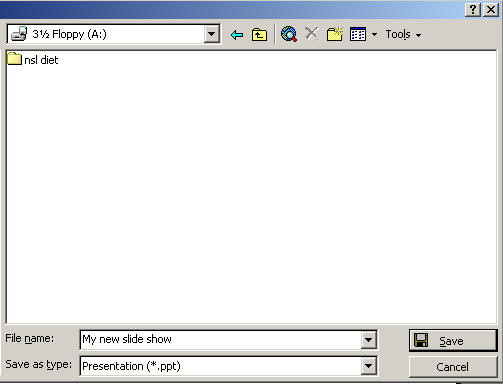
Open the File Menu
Click Save As
Make sure you save to the A: Drive
Give your show a name
Click Save
Now that you have given your show a name, in future you
can save by simply clicking the save icon
![]()
Click the Insert Menu and select New Slide
or ... Hold down the CTRL key and Press M
or ... click the New Slide Icon
![]()
- Decide what you want to teach. Needs to be an academic subject, not computers or software.
- Decide which Office Tools you are going to use to teach your lesson
- Describe the students you are going to teach
- Discuss your project in some detail
Click the Slide Sorter Button to see all of your slide at
once ![]()
You may now drag your slides to re-arrange them
You may also copy or delete slides
To copy a slide, hold down the CTRL Key and press C to copy the slide
Next, hold down the CTRL Key and press V to duplicate the slide you just copied
Click the Slide Icon to return to the slide
![]()
You may also experiment with the various slide show options such as Action Settings and Slide Transitions
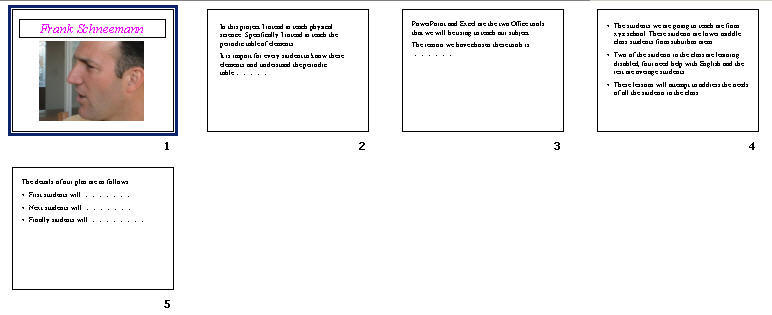
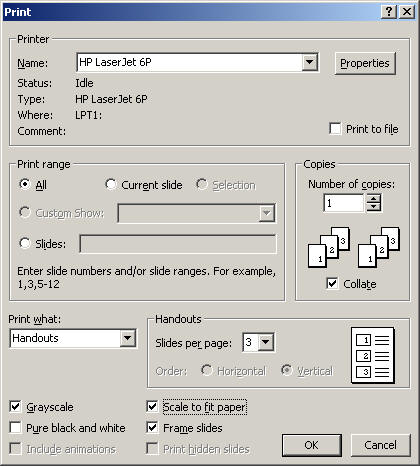
Open the File Menu and click Print
You have many options open to you.
You may print individual slides or handouts. We will print handouts.
In the Print What: box, select Handouts
In the Slides per page, click 3
Experiment with the other options
When you are finished, click the OK button to print
You may wish to experiment more on your
own or use some of the other PowerPoint Tutorials available at
www.edtechnology.com
Hope you enjoyed the tour.