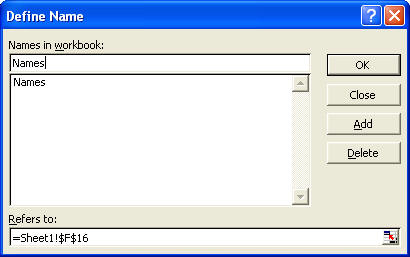
Naming the database area
|
|
- Type names
- Click Add
- Click OK
You have now named the database area
- Save the Excel Database Worksheet
Give it a name
Remember where you saved it
- Close Excel by selecting Exit from
the File Menu
|
 |
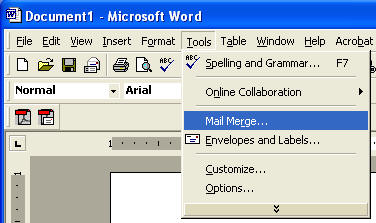
Creating the Mail Merge Document
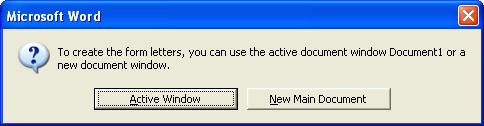
- Start Word and make sure you have a new,
blank document on the screen
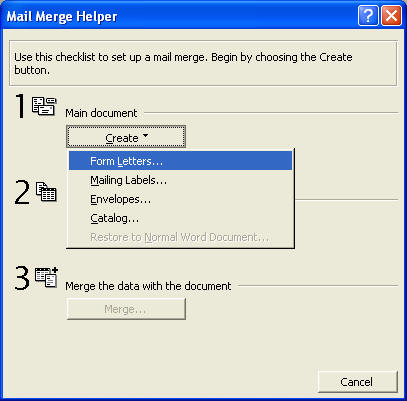
- Open the tools menu and select Mail Merge
|
 |
- Click Create
- Click Form Letters
|
 |
|
|
 |
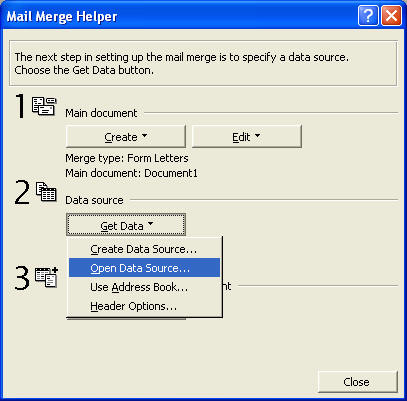
- Click Get Data
- Click Open Data Source
|
 |
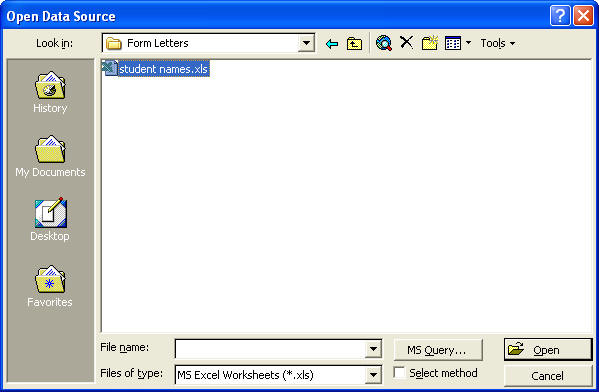
- Find the Folder that contains the Student
Database you created
- In Files of Type, select MS Excel
Worksheets
- Click your student database and then click
the Open button
|
 |
- Click Names
Names is the area of the Excel database that you names.
- Click OK
|
 |
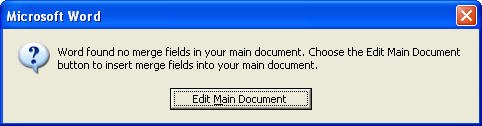
- Click, Edit Main Document
|
 |
- Notice that a Mail Merge Toolbar
has been added to your Word screen
- Run the mouse over each of the icons
(without clicking) to see what each of the icons do.
|
|
|
Creating the merge document
We are going to create a business form letter
- Create a document heading
Bonita Vista High School
- Place the date in the upper right corner
of the page
Bonita Vista High School
November 28, 2002 |
Inserting the merge field
- Place the cursor on the left side of the
page
- Click the Insert Merge Field icon
- Click Sal (salutation)
- Press the Space Bar to leave a space
- Insert Last
|
 |
- Repeat the process described above by
inserting fields from your database into the letter
- Use the Space Bar to insert spaces where
appropriate and start new lines when needed.
- Insert the First Field (first name
of the student) throughout the letter to make it more personal.
- Your letter should look something like the
one below.

|
Merging the Excel database with your Word
document.
- Click the View Merge Field Icon

- Click the record number icon and watch
your document change with each new database record


|
Printing the merge documents
- Click the Merge to Print icon

- Click OK
A separate letter should print for each record in your database.
As usual, you did great! |